Setting Up Your Amazon Seller Account
Jump right in: Setting Up Your Amazon Seller Account
Introduction:
You have made the exciting decision of launching your business and begin selling on Amazon. Now, it is time to evaluate which type of Amazon seller account aligns best with your brand’s needs and goals.
To make an informed decision about the most appropriate Amazon Seller account type for your business, start by analyzing the distinct types that Amazon offers and how it aligns with your business model.
In this article, we will examine the various Amazon Seller account options, highlighting their differences to help you identify the one that best suits your business needs. Then provide you with the step-by-step instructions to set up an account.
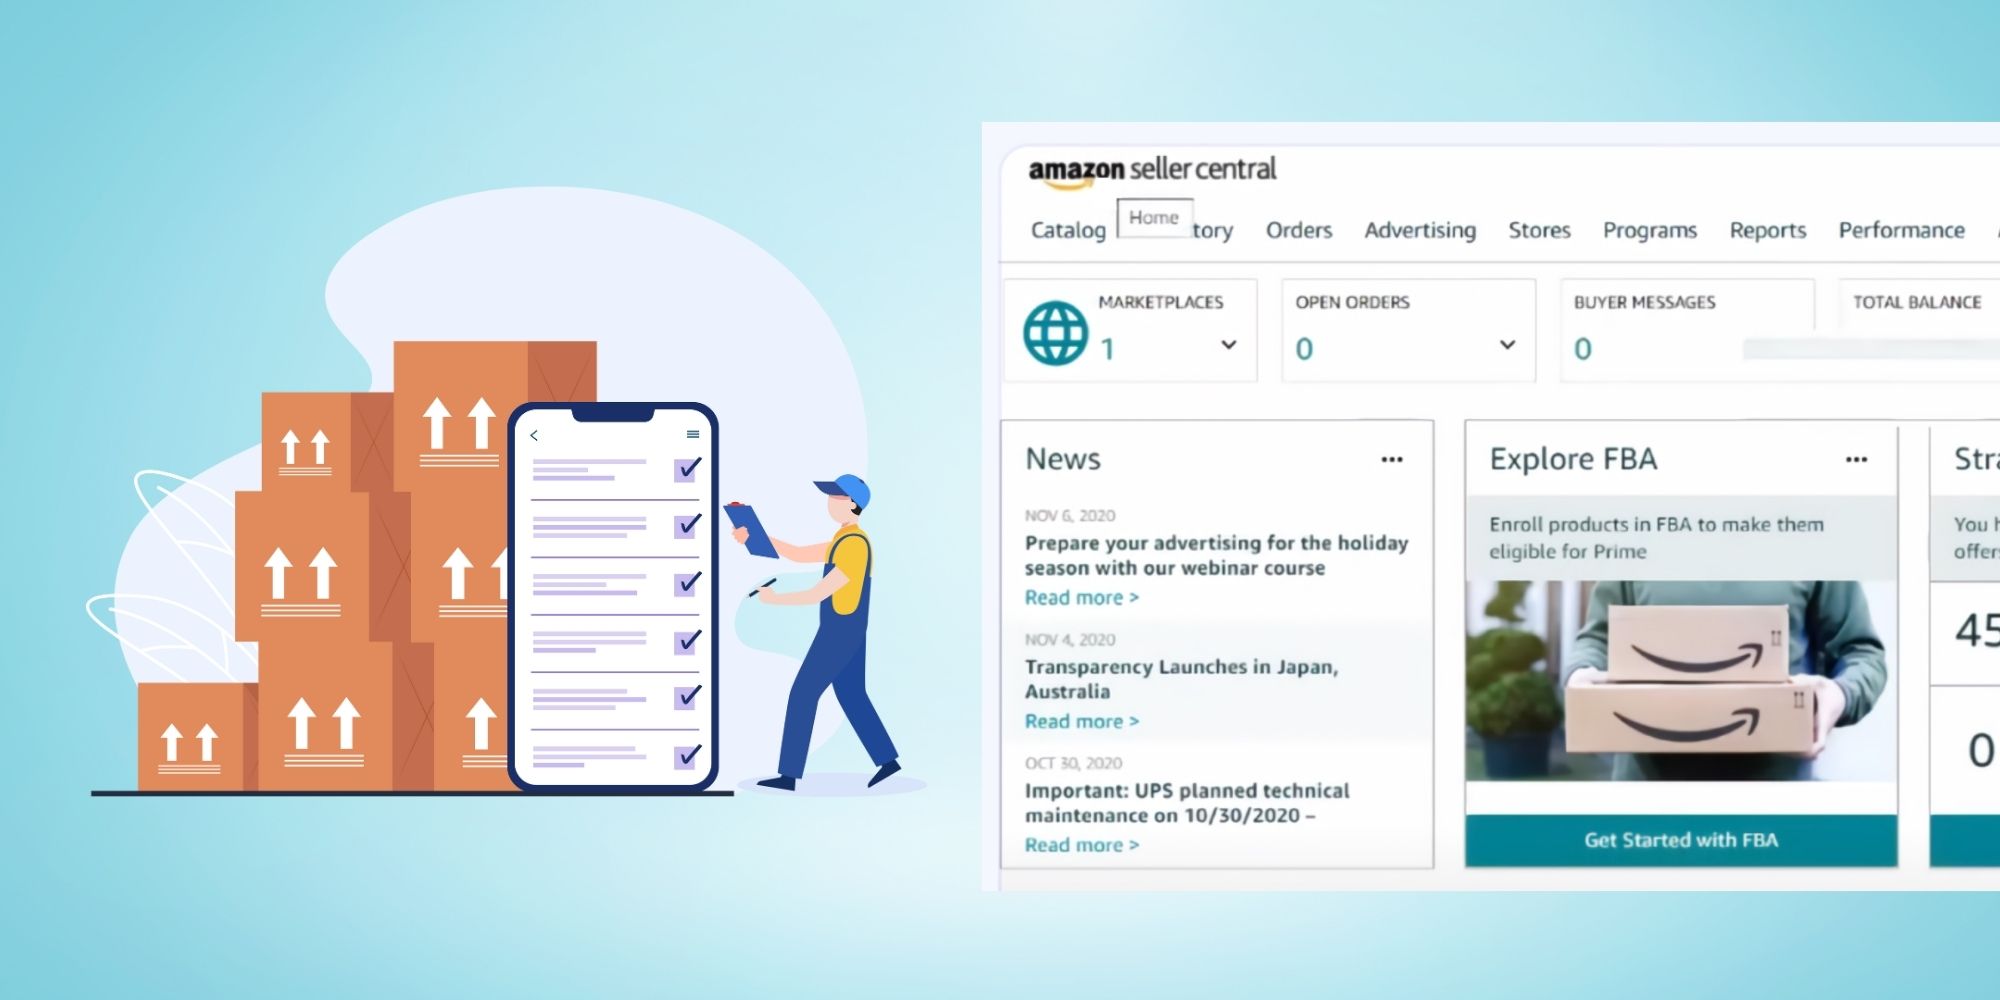
Setting up an Amazon Seller Account.
Now that you have carefully evaluated your options and determined the type of seller account that aligns best with your business needs, it is time to take the next crucial step: setting up your Amazon Seller account. Properly configuring your account is essential to ensure a smooth start and lay the groundwork for long-term success on the platform.
In this guide, we will provide a detailed, step-by-step overview of the process to help you navigate the setup with confidence. From providing the required information to optimizing your account settings, each of the steps outlined to help you create a professional seller profile and prepare your business for growth in the competitive Amazon marketplace. With the right preparation and mindfulness, you will be well-positioned to achieve your goals and thrive in this exciting endeavor.
Step 1: Prepare Necessary Information

Before you start the registration process, gather the following:
- Business Email Address: Use a dedicated email for your Amazon seller account.
- Bank Account Information: Required for receiving payments from Amazon.
- Phone Number: For verification and communication.
- Tax Information: Your tax identity (EIN for businesses or SSN for individuals in the U.S.).
- Government ID: A passport or driver’s license for identity verification.
- Credit Card: For charging fees (must be internationally chargeable).
Step 2: Sign Up on Amazon Seller Central
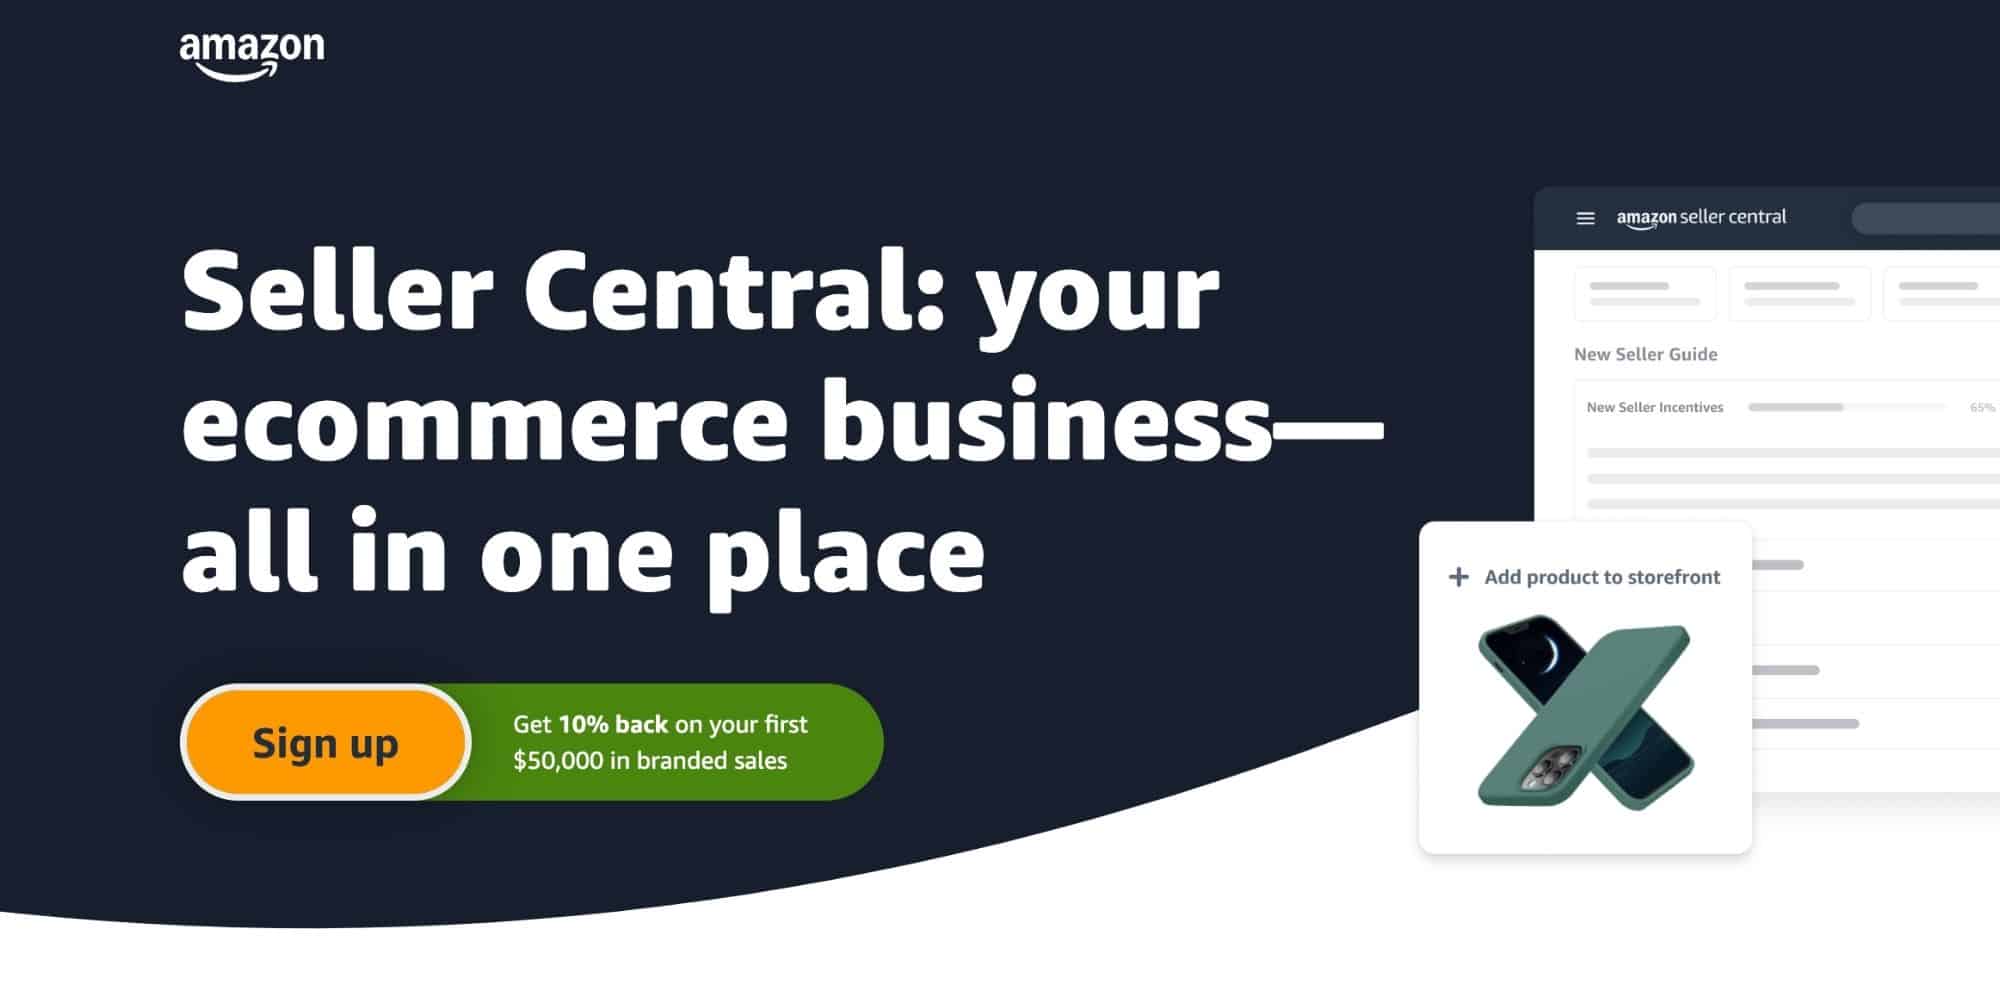
- Go to the Amazon Seller Central website.
- Click on Sign Up.
- Choose the selling plan you selected (Individual or Professional). Not sure which you need? Read the article section about the different Types of Amazon Seller Accounts.
- Enter your email address and create a password.

Did You Know?
Amazon sells a mind-boggling 7,800 items every minute? With the average seller earning over $230,000 annually, there’s plenty of opportunity for success. It’s encouraging to know that 76% of sellers turn a profit, and most do so within their first year.
Step 3: Complete Registration

- Business Information: Provide your business name and address.
- Phone Verification: Amazon will send you a verification code.
- Payment Information: Link your bank account and credit card.
- Tax Details: Complete the Amazon Tax Interview to ensure compliance.
Step 4: Set Up Your Seller Profile
- Add your store name or business name.
- Write a brief description of your store.
- Upload a logo if you have one.
- Set up shipping settings (if applicable, FBA sellers do not need to set up their shipping profiles since Amazon manages the shipping) and return policies.
Step 5: List Your Products
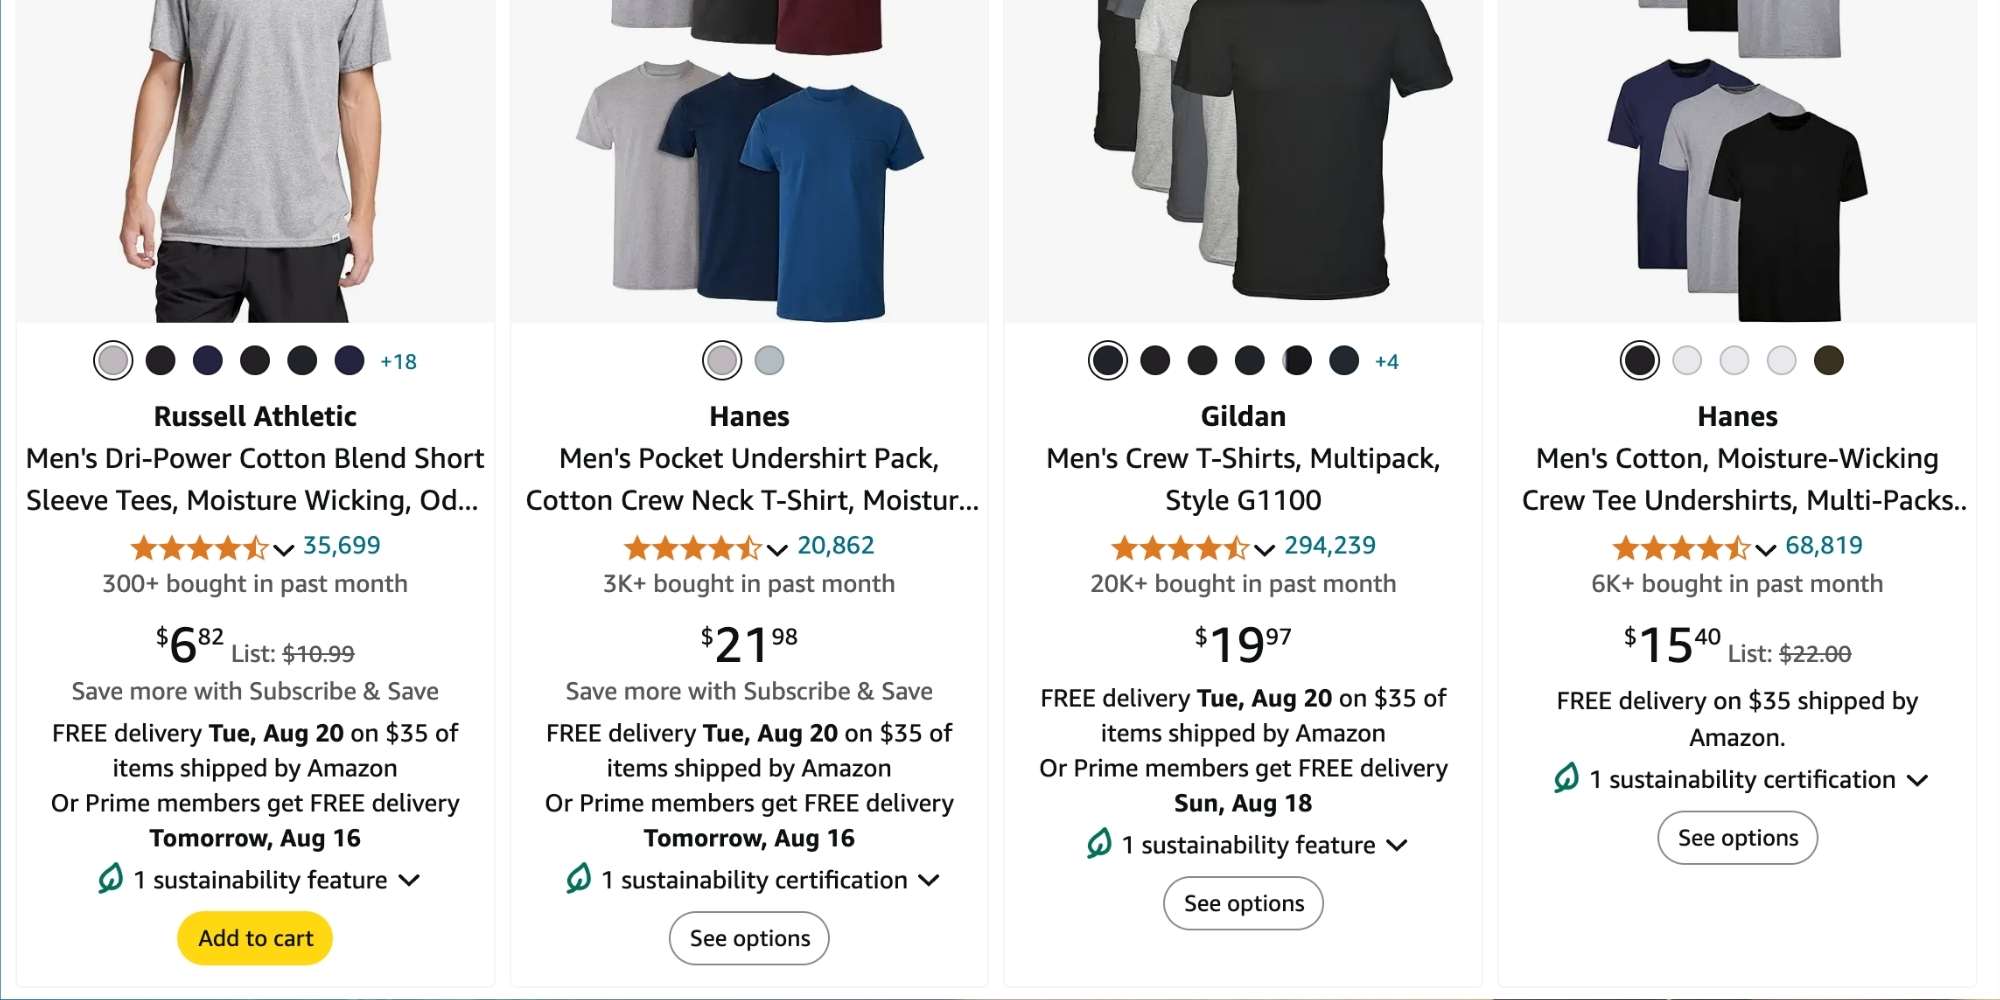
- Go to the Inventory section in Seller Central.
- Click on Add a Product.
- Choose from the following:
- If your product already exists on Amazon: Search for the product in the catalog and match it.
- If it is a new product: Create a new listing. Want to learn how to successfully launch your first product on amazon? Check out our guide “How to Launch a Product on Amazon in 3 Steps”!
- Provide:
- Product title
- Description and bullet points
- Images
- Price
- Inventory details
- Select the appropriate category and product keywords for visibility.
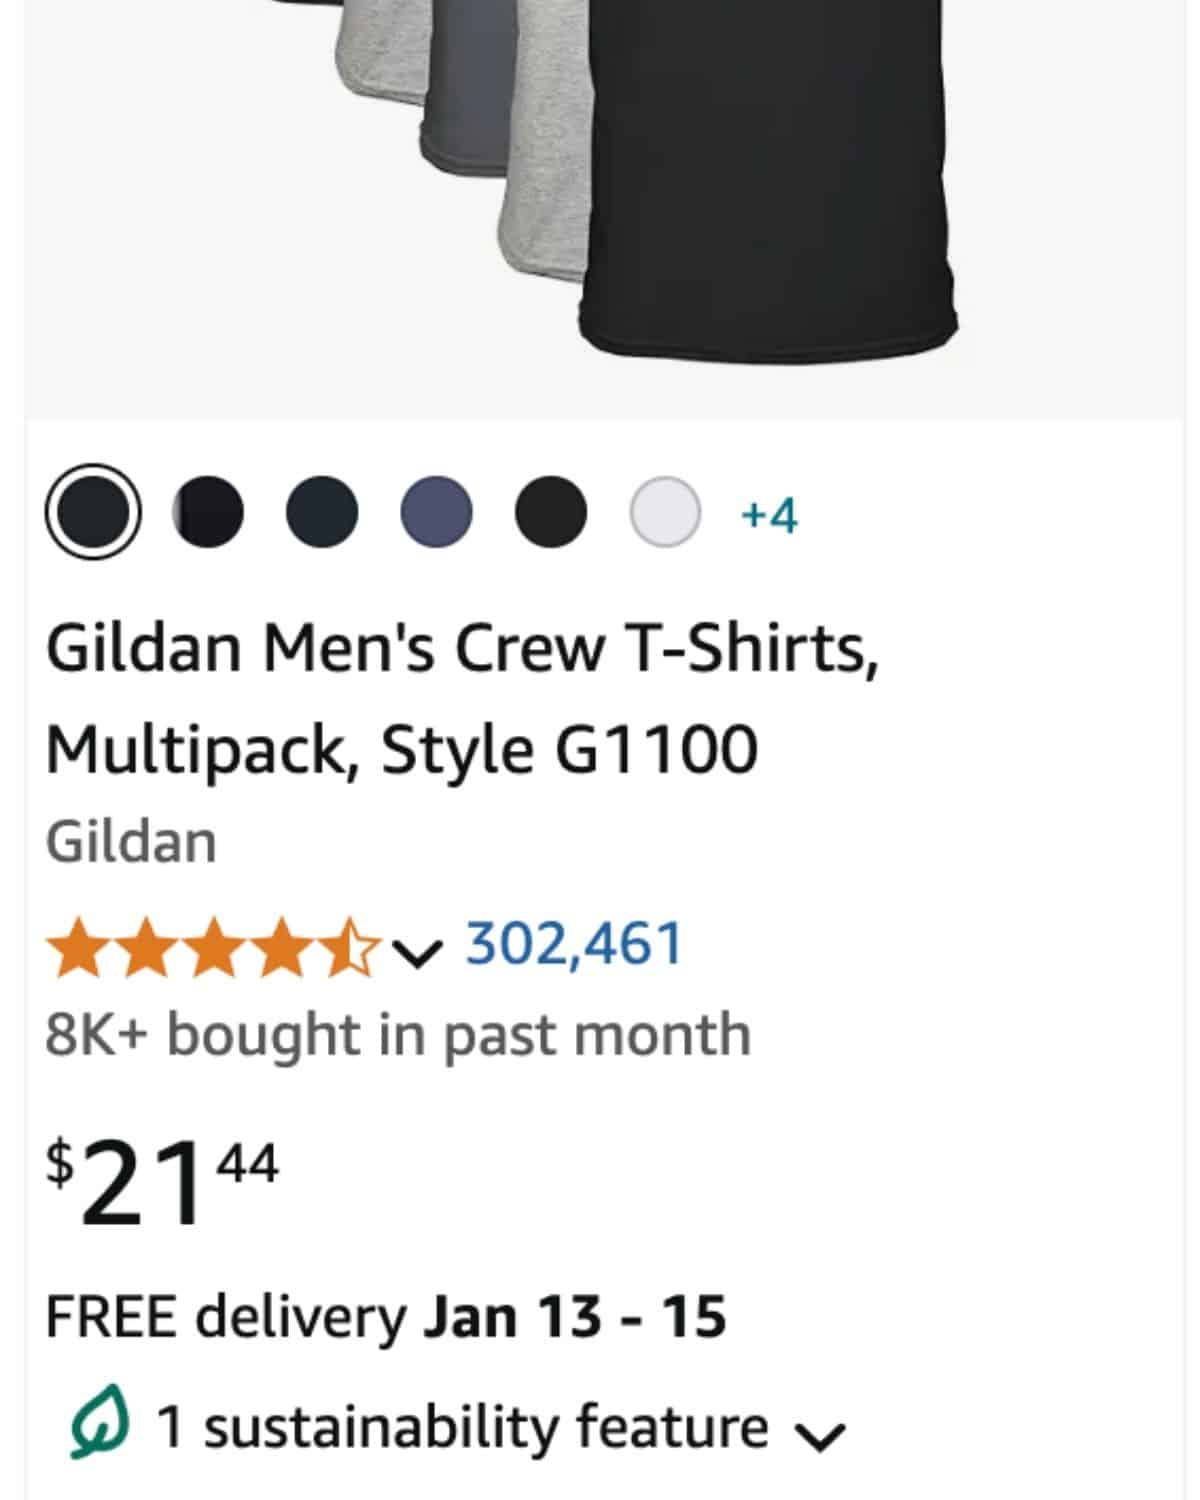
Need Help Writing a Click-Worthy Product Listing?
Check out our in-depth amazon product listing guide “Crack the Amazon Algorithm: Expert Tips for Irresistible Product Listings” and unlock the secrets of high-converting Amazon listings. Learn expert strategies for titles, descriptions, images, and more to boost visibility and sales.
Step 6: Select Your Fulfillment Method
Decide whether you want to:
- Fulfill by Merchant (FBM): You manage storage, packaging, and shipping.
- Fulfill by Amazon (FBA): Amazon stores, packs, and ships your products. You will need to ship inventory to an Amazon fulfillment center.

Step 7: Launch and Monitor Your Store
- Check your listings for accuracy.
- Optimize your product pages using:
- High-quality images
- Keywords for SEO
- Competitive pricing
- Regularly monitor orders and respond to customer inquiries.
Step 8: Promote Your Listings
- Use Amazon Ads (Sponsored Products, Sponsored Brands) to boost visibility.
- Encourage customer reviews to build trust and improve rankings.
- Optimize your listings periodically based on performance data.
Step 9: Stay Compliant
- Familiarize yourself with Amazon’s policies and guidelines. There are separate policies for FBA and FBM sellers.
- Pro tip: Want someone else to handle all of the requirements and labeling Amazon FBA requires? Try working with a company who specializes in FBA Prep. They can make sure all of your inventory is compliant as well as serve as an Amazon overflow warehouse for slow moving inventory.
- Monitor your performance metrics, including order defect rate and late shipment rate, to maintain a good standing.
Save Yourself the Headache and Let us Handle Your Amazon FBA Prep!
See How Using a 3PL for saves Amazon FBA sellers time. Get a Free Quote from eFulfillment Service Today!
What are the Different Types of Amazon Seller Accounts?
Amazon offers three main types of seller accounts; each designed to cater to various levels of the end seller’s business.
We will begin by examining the distinctions between these account options to help you identify the one that aligns most effectively with your business needs.
Individual Seller Account.
The Amazon Individual Seller account tailored for new sellers with low sales volumes. While it offers the essential features needed to start selling, it does not include the advanced tools and capabilities available with the Professional Seller account.
Fee Structure:
- No monthly subscription fee.
- $0.99 fee per item sold, plus additional referral and variable closing fees.
Features:
- Limited access to Amazon selling tools.
- Ineligible for certain advertising options, like Sponsored Products.
- Cannot use bulk listing and inventory management tools.
- Suitable for sellers with fewer than forty items sold per month.

Professional Seller Account
The Professional Seller account tailored for businesses or individuals with higher sales volumes, offering access to a comprehensive suite of advanced selling tools.
Fee Structure:
- $39.99 monthly subscription fee, regardless of the number of items sold.
- No per-item fee, but referral and variable closing fees apply.
Features:
- Access to bulk listing and inventory tools.
- Ability to use Amazon’s advertising services, like Sponsored Products.
- Eligible for advanced reporting and analytics.
- Access to third-party integrations and APIs.
- Ability to compete for the Buy Box.
- Suitable for sellers with 40+ items sold per month.
- Also hosts the Amazon Handmade Seller Accounts with access to the Handmade storefront.

Amazon Vendor Central (Invitation-Only).
This seller account is an exclusive, invitation-only option reserved for manufacturers and distributors invited by Amazon to serve as suppliers. As such, it is not available to all sellers.
Fee Structure:
- Amazon negotiates wholesale prices with vendors and manages pricing, marketing, and selling.
Features:
- Amazon purchases products from the vendor, and the items sold as “Ships from and sold by Amazon.”
- Vendors have no direct control over pricing or customer interactions.
- Access to Amazon’s broader customer base and the credibility of Amazon branding.
Efficiency Tip: Partnering with an 3PL can free up your time to focus on what you do best, sell great products!
Get a Free Quote from eFulfillment Service and see how we can simplify your amazon selling by taking care of your Amazon FBA Prep!
Actionable Insights:
By understanding the differences between each account type, evaluating the features and benefits they offer, and assessing your specific business requirements, you can select the seller account that best aligns with your business needs.
- Sales Volume: For sellers that are selling less than 40 items per month, it makes more sense to go with the individual seller account. Allowing you to focus on simplicity and test out which products will work.
- Scalability: As your business grows, make the move to the Professional seller account and unlock advanced features to help boost your sales even further. Aim to win the Buy Box by keeping your pricing competitive and ensuring excellent fulfillment metrics. You can also determine if you want to be an FBA (Fulfilled by Amazon) or FMB (Fulfilled by Merchant) seller or have a storefront that caters to handmade niche items.
- Vendor: This account type is for the sellers that have made it, the brands seen globally. Amazon purchases products directly from the vendor and controls all pricing and customer interactions. These accounts are always “Ships from and sold by Amazon.”
Summary
Starting a new business venture is always a little bit scary but also exhilarating at the same time. Establishing a solid foundation is essential to building confidence as you take the first steps toward success.
One crucial aspect of this process is understanding the differences between the seller account options offered by Amazon and selecting the one that aligns with your business objectives. A well-structured guide to setting up your account and launching your operations effectively can serve as a vital resource, helping you hit the ground running and position your business for growth.


Good evening. Please if I want to join Amazon what can I do and how much it will cost me